How to wirelessly mirror your smartphone display to your PC (Samsung smartphones guide)?
- Yaman Kumar
- Dec 28, 2021
- 2 min read
Have you ever wanted to wirelessly connect your smartphone's display to your PC and use the latter as a 2nd display for your smartphone? While most people tend to go to 3rd party software to do so, very few know that Windows 10 has this feature built into it. This feature is just disabled by default and we need to enable it to mirror our smartphone to our PC.
In this tutorial, we will be demonstrating how to do the same. Please note that as this procedure is wireless, so your PC must have a wifi card inside it, or be connected to it externally.
Steps to mirroring smartphone's display to Windows PC -
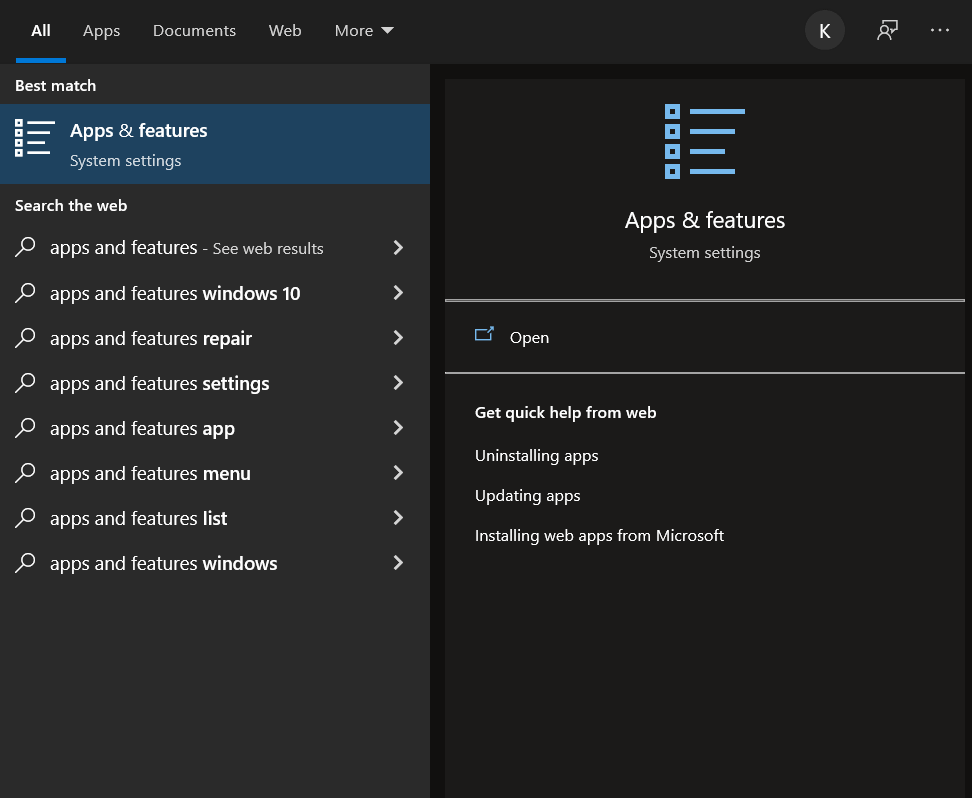
1. Open Windows Search and search for 'Features'. Then click on the 'Apps and Features option from the results.

2. Click on 'Optional Features' in Settings.

3. In the 'Optional Features' section, click on 'Add a Feature'.

4. An additional dialog box will open when you click on 'Add a Feature' which will consist of a search box. Search for 'Wireless Display' in the search box.
5. Check the 'Wireless Display' option and install it.

6. Reboot your PC.
7. Once rebooted, go to 'Windows Search' and search for 'Connect'.

8. Now keeping the Connect app open on your PC, you have to open your smartphone.
If you have a Samsung Smartphone then open your notification panel and select 'Smart View'.
9. If you have done all the above steps properly, and your phone and PC are connected to the same network, then you will see your PC's name in the 'Phone ---> Other devices' section of 'Smart VIew'. Click on it and give it the necessary permissions.
After doing the above steps you would instantly see a Windows 10 loading animation in your Connect app on your PC, and moments after that your smartphone would be mirrored to your PC successfully!
Read More -


Comments